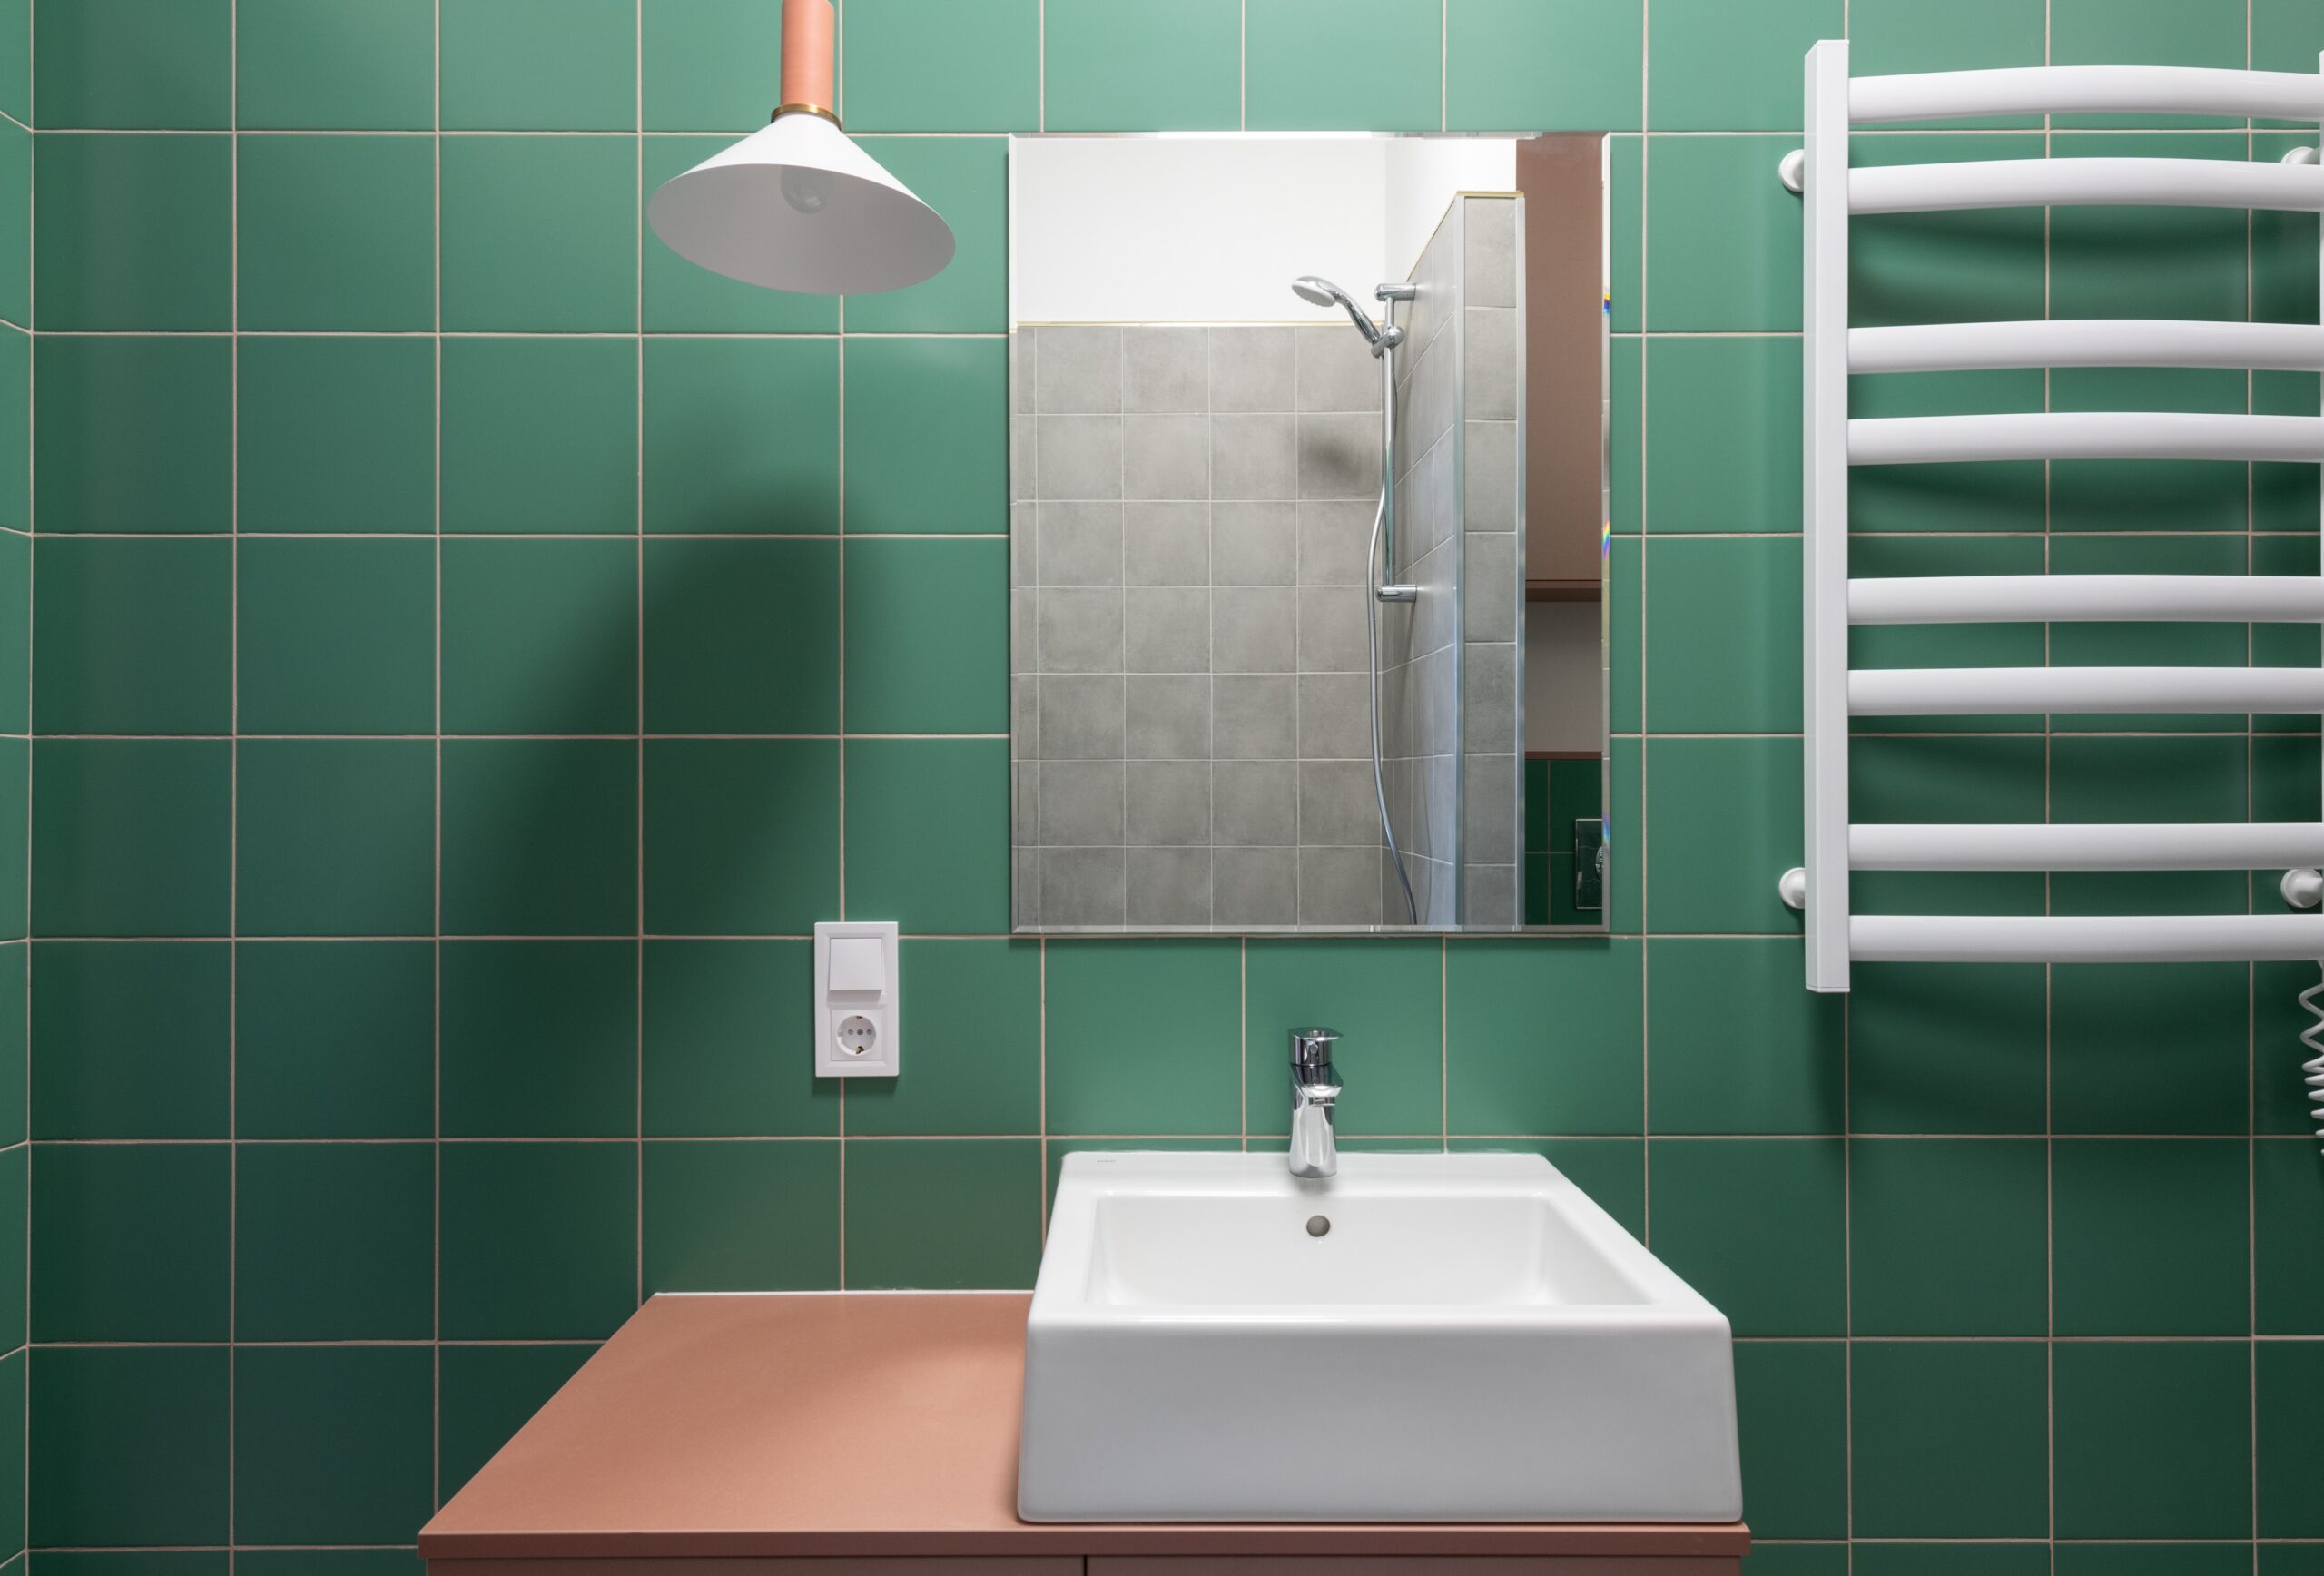
Revamping your bathroom doesn’t have to involve a complete overhaul. Stylish wall panels offer a fantastic way to transform your space without the mess and expense of traditional tiling. This comprehensive installation guide will walk you through the steps to achieve a stunning bathroom makeover that’s both cost-effective and visually appealing.
Step 1: Planning and Preparation
- Measure the Walls: Start by measuring the dimensions of the walls you intend to cover with wall panels. This will help you accurately calculate the number of panels you need.
- Choose Your Panels: Browse through various styles, colors, and materials of wall panels to find the ones that match your desired aesthetic. Consider factors like moisture resistance and ease of cleaning.
- Gather Tools and Materials: Ensure you have all the necessary tools, including a saw, measuring tape, adhesive, level, caulk gun, and safety gear.
Step 2: Surface Preparation
- Clean the Walls: Thoroughly clean the walls to remove any dirt, dust, or grease. A clean surface will ensure proper adhesion of the wall panels.
- Repair Any Damage: Fill in any holes, cracks, or imperfections on the walls with appropriate filler. Sand the patched areas until they’re smooth and even.
- Sand the Walls: Lightly sand the entire surface to create a better bonding surface for the adhesive.
Step 3: Installing the Wall Panels
- Start at a Corner: Begin at an inconspicuous corner of the room. Apply adhesive to the back of the first wall panel using a recommended adhesive for your chosen panel type.
- Position the Panel: Press the panel firmly onto the wall, ensuring it’s level. Use a level to make adjustments as needed.
- Continue Installing Panels: Apply adhesive to the back of the next panel, align it with the first, and press it in place. Use spacers to maintain consistent gaps between panels.
- Cut Panels to Fit: If needed, use a saw to trim panels to fit around corners, edges, or obstacles like pipes and outlets.
- Vertical Joints: When installing subsequent rows of panels, ensure that the vertical joints are staggered for a more natural appearance.
Step 4: Finishing Touches
- Caulk Seams: Once all panels are in place, use a caulk gun to apply waterproof caulk along the seams and edges to prevent water infiltration.
- Allow Adhesive to Cure: Follow the manufacturer’s recommendations for adhesive curing time. This is crucial to ensure the panels stay securely in place.
Step 5: Enjoy Your Transformed Bathroom
Congratulations! You’ve successfully installed stylish wall panels that have breathed new life into your bathroom. Step back and appreciate the beauty and functionality of your revamped space.
Maintenance Tips:
- Regularly clean the wall panels with a mild, non-abrasive cleaner to maintain their appearance.
- Promptly address any caulk or adhesive issues to prevent water damage.
- Avoid using abrasive materials or harsh chemicals that could damage the panels.
In conclusion, transforming your bathroom with stylish bathroom wall panels is a rewarding DIY project that can significantly enhance the look and feel of the space. By following this comprehensive installation guide and taking proper care of your panels, you’ll enjoy a beautiful and functional bathroom for years to come.

